DIY Fire Pit for as Little as $0
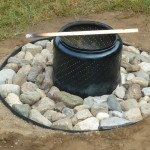
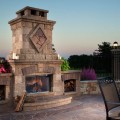
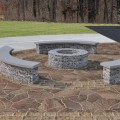
While a stone fire pit – like Techo-Bloc’s Valencia Fire Pit – looks as great as it functions and lasts a lifetime, some people just don’t have thousands or hundreds of dollars to invest. Others, for a variety of reasons, need a fire pit that is portable. Then there are those who simply enjoy making things. This DIY washing-machine-drum fire pit is portable, potentially free (or very inexpensive), and the project only requires as much work as you’re willing to put into it.
Why use washing machine drums?
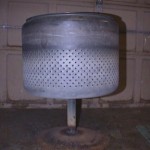
They are the perfect size for a fire pit and generally have small holes scattered throughout the sides, which facilitate proper airflow. Drums from dryers can also be used. If you don’t have a broken washing machine or dryer, they oftentimes can be found for free on Craigslist. This IFTT recipe can be used to be alerted when a post is created on craigslist for whatever you are looking for (a free washing machine, dryer, or maybe firewood).
I would avoid using drums that are coated in ceramic or have been painted during the manufacturing of the washer/dryer, though the paint can be stripped. Ceramic-coated drums have a tendency for the ceramic component to burst when exposed to high-heat, as ceramic is highly susceptible to thermal shock.
Materials
1 Recycled Washing Machine Drum (if you can’t find one for free, a used-appliance store may carry them for as little as $10)
Safety Glasses
Angle grinder (optional)
Cup wire brush (great for removing soap scum and other buildup), Cut-off wheel, and Flap-wheel sanding disc (for grinder, also optional)
Angle-stock and Flat-stock steel (optional)
High heat black paint (optional)
Clean The Drum
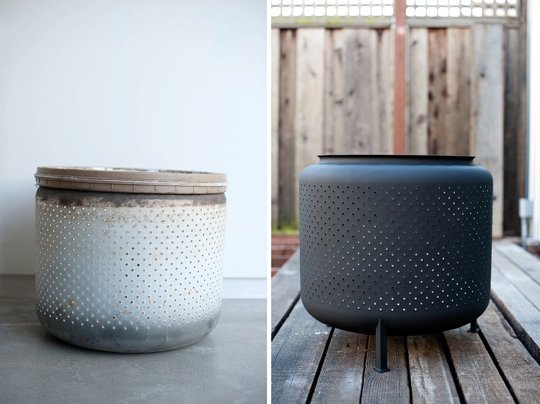
First, remove the drum from the Washing machine/dryer. Then remove any plastic components attached to the drum. Clean all of the grime and soap-scum from the drum and sand away rust. To further clean up the overall appearance of the fire pit, houseandfig.com recommends cutting off the top lip of the drum. Remove any sharp, jagged edges that may be present (an angle grinder will come in handy here). If your drum has been painted, this paint needs to be properly stripped to avoid toxic fumes being released when fires are burned inside of it. If the washing machine parts were manufactured in another country, it is likely to include lead paint. After stripping the paint, burning a full-size fire in the drum (away from any people that may breathe in the fumes, of course) and then cleaning again is recommended to ensure all of the paint has been removed. Now your fire pit is ready to use, unless you’d like to customize it a bit.
Painting
After removing rust, smoothing out the sharp and jagged edges, and properly stripping the original paint, you may want to paint your new fire pit. Using heat resistant spray paint enables you to paint your fire pit without the need for any special equipment. Be certain you’re using paint specialized for use in high-temperature environments.
Adding Legs, stands, supports, etc.
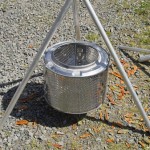
Some DIYers have chosen to add legs to their drum-based fire pit. While most are welded or bolted on, this is a chance to get creative. Here are a few photos to help generate some ideas:

